//Pinterest//
Select Page
Crochet Potato

Crochet Potato

INSTRUCTIONS:

Cap

  • Rnd 1: In Lace color, Magic Circle, SC x6. (6)
  • Rnd 2: INC x6. (12)
  • Rnd 3: [SC, INC] x6. (18)
  • Rnd 4: [SCx2, INC] x6. (24)
  • Rnd 5: SC around. (24)
  • Rnd 6: [SCx7, INC] x3. (27)
  • Rnd 7: [SCx8, INC] x3. (30)
  • Rnd 8: INC x6, SCx24. (36)
  • Rnd 9: [SCx8, INC] x4. (40)
  • Rnd 10-19: SC around x10. (40)
  • Rnd 20: [SCx8, DEC] x4. (36), Stuff the potato with filling as you go.
  • Rnd 21: [SCx4, DEC] x6. (30)
  • Rnd 22: [SCx3, DEC] x6. (24)
  • Rnd 23: [SCx2, DEC] x6. (18)
  • Rnd 24: [SC, DEC] x6. (12)
  • Rnd 25: FLO, DECx6. (6), Use needle to close.
  • Use needle with dark brown color to make dimples on the surface, after thatneedle with cream color to embroider the bud on the dimples.

NOTE:

MATERIALS:

  • I use Caron one pound100% Acrylic yarn
  • Use a 3.5mm Crochet Hook
  • Scissor
  • Tapestry Needle
  • Stitch Marker (Recommended)

ABBREVIATIONS:

  • CH = Chain(s)
  • DEC = Decrease
  • INC =Increase
  • SC = Single crochet
  • St(s) = Stitch(es)
  • SLST = Slip Stitch
  • FLO = Front Loop Only
Crochet Green Onion

Crochet Green Onion

INSTRUCTIONS:

Roots, BULB & STEM

  • Rnd 1: Start with white, Magic Circle, SC x6. (6)
  • Rnd 2: INC x6. (12)
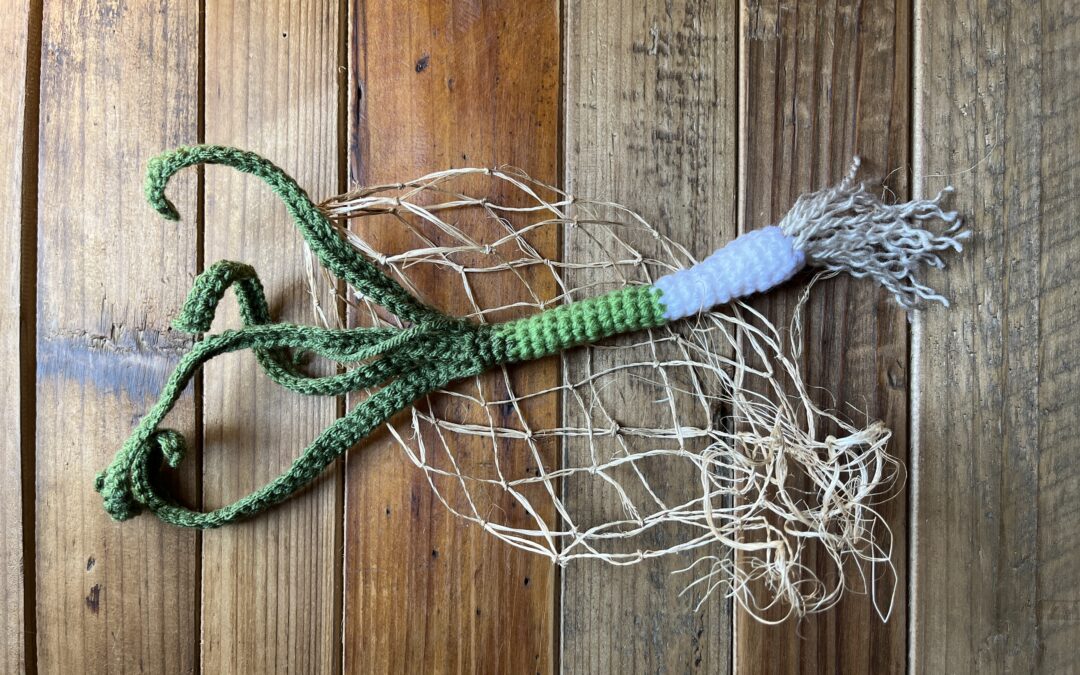
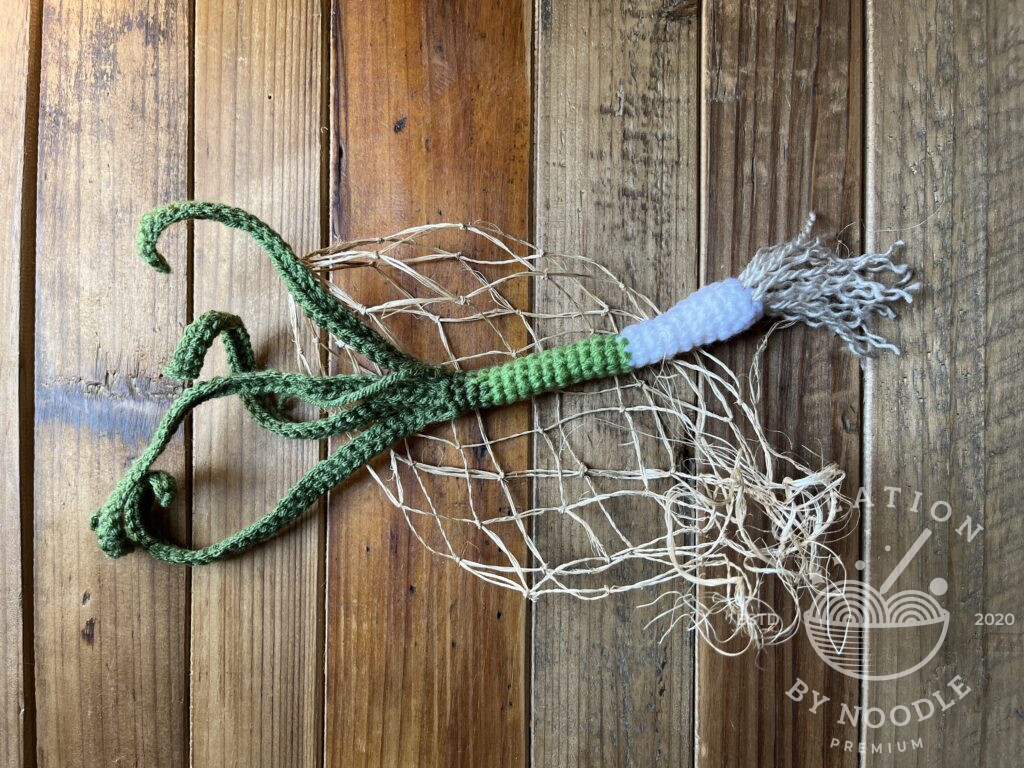
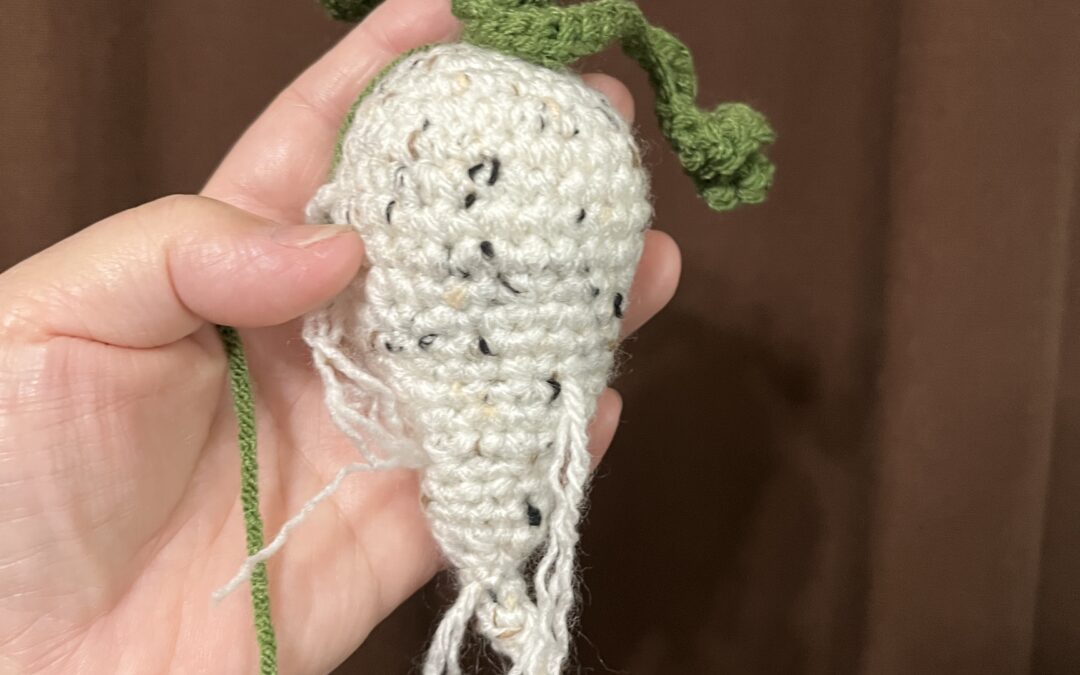
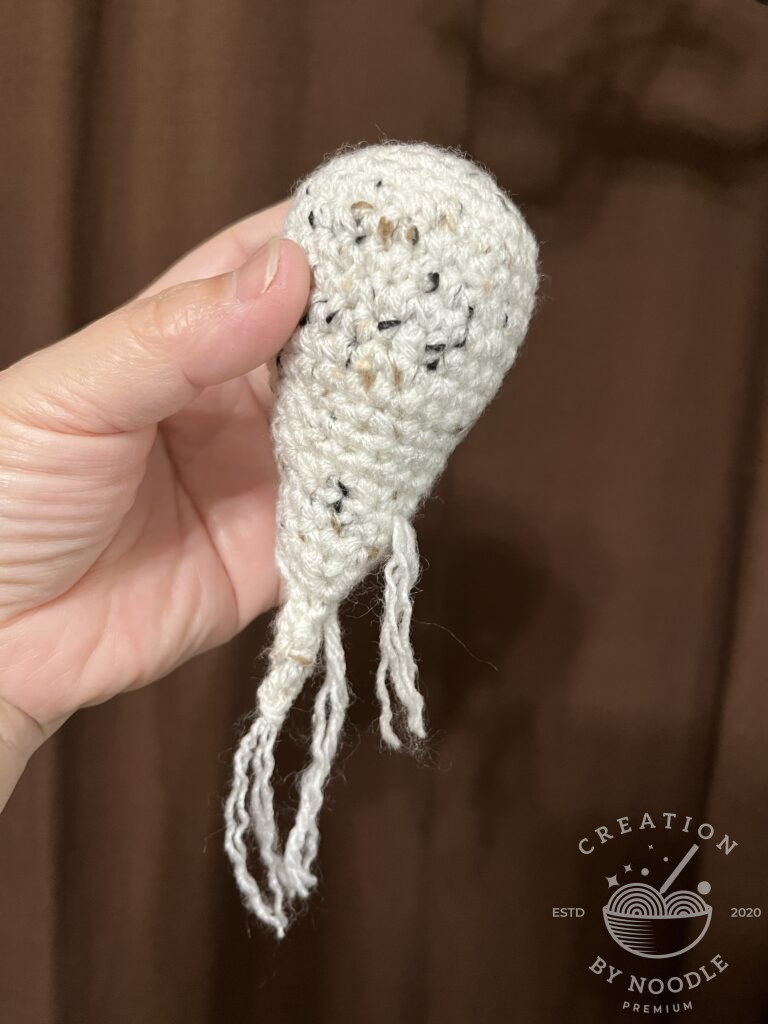
    • Insert gray-brown color yarn in between stitches between Rnds 1-2, make knots on top of roots to prevent pulling through, make 6 roots, each strip about 5″ long.
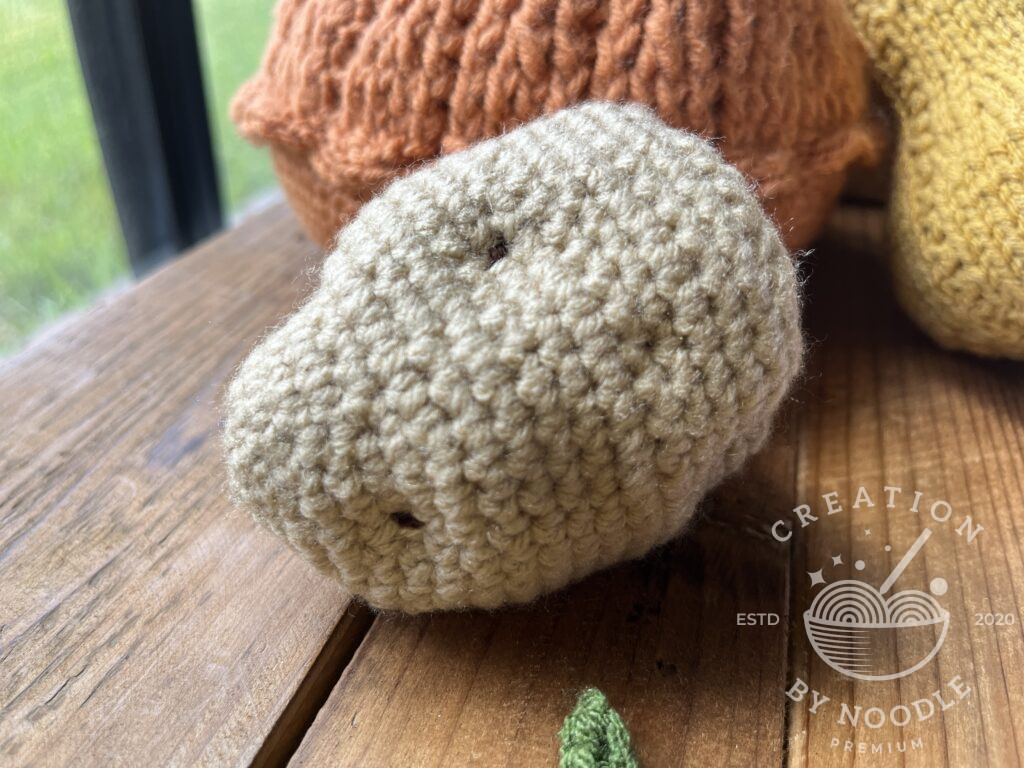
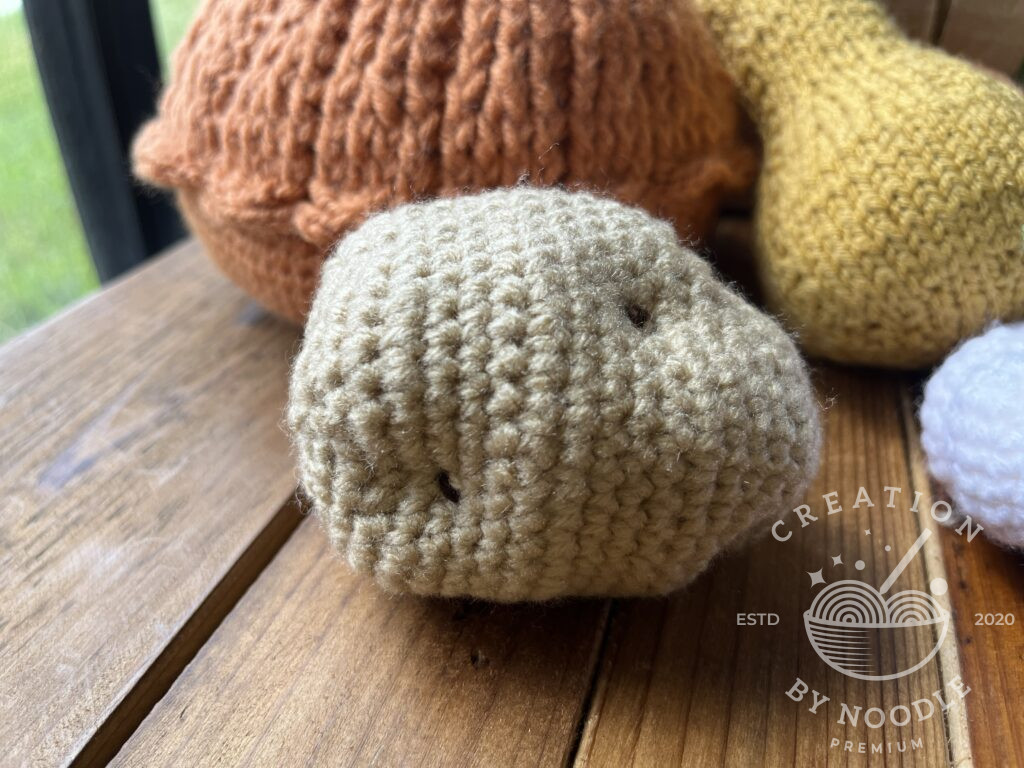
  • Rnd 3-5: SC around. (12)
  • Rnd 6: [SC, DEC] x4. (8)
  • Rnd 7-10: SC around. (8)
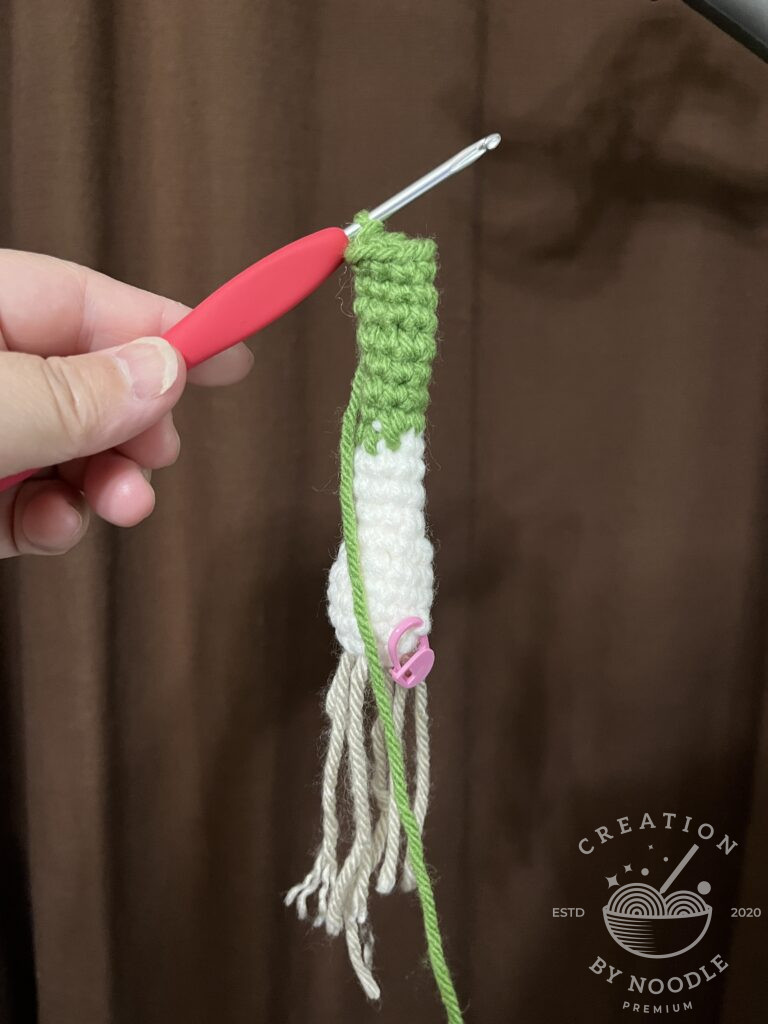
  • Rnd 11-23: Attach green, SC around. (8)
  • Rnd 24-25: Attach dark green, SC around. (8)
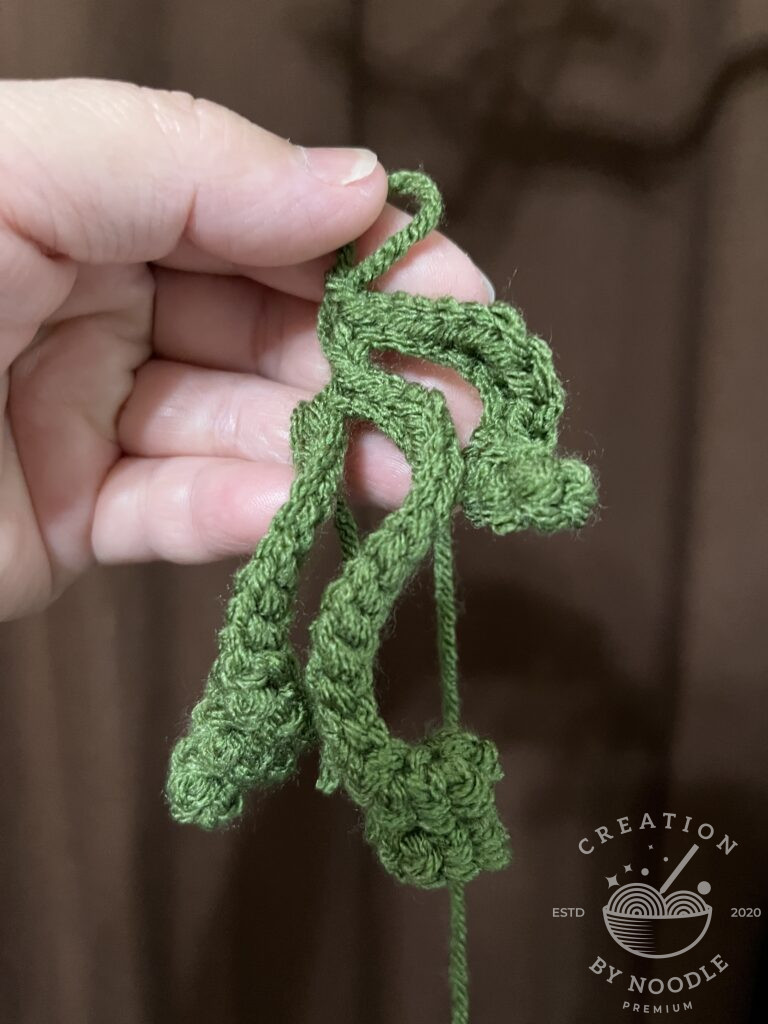
Green Leaf

  • Rnd 26:
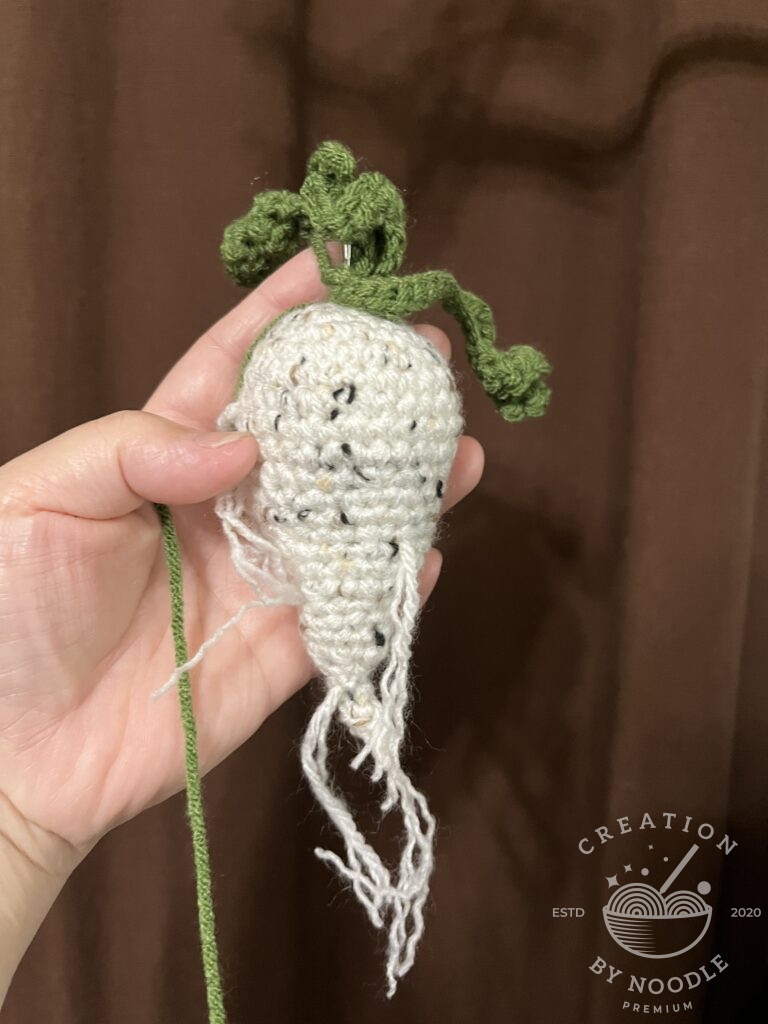
    • First leaf: SC, CHx41, turn, start SC from the 2nd loop of chain and then all way down.
    • Second leaf: SC x2 from Rnd 25, CHx41, turn, start SC from the 2nd loop of chain and then all way down.
    • Third leaf: SC x2 from Rnd 25, CHx37, turn, start SC from the 2nd loop of chain and then all way down.
    • Fourth leaf: SC x2 from Rnd 25, CHx31, turn, start SC from the 2nd loop of chain and then all way down.
  • SC, SLST to first stitch of round and fasten off.

NOTE:

MATERIALS:

  • I use Caron one pound100% Acrylic yarn in
  • Use a 3.5mm Crochet Hook
  • Scissor
  • Tapestry Needle
  • Stitch Marker (Recommended)

ABBREVIATIONS:

  • CH = Chain(s)
  • DC = Double crochet
  • FPDC = Front Post Double Crochet
  • HDC = Half double crochet
  • DEC = Decrease
  • INC =Increase
  • Picot Crochet = Chain 3 and make a Slip stitch into the First Chain
  • Rep = Repeat
  • SC = Single crochet
  • St(s) = Stitch(es)
  • SLST = Slip Stitch
  • SK = Skip
  • TR = Treble Croche
Crochet White Radish

Crochet White Radish

INSTRUCTIONS:

Radish Body

  • Rnd 1: Magic Circle, SC x6. (6)
  • Rnd 2: INC x6. (12)
  • Rnd 3: [SC, INC] x6. (18)
  • Rnd 4: [SCx2, INC] x6. (24)
  • Rnd 5: [SCx3, INC] x6. (30)
  • Rnd 6-10: SC around. (30)
  • Rnd 11: [SCx3, DEC] x6. (24)
  • Rnd 12-13: SC around. (24), stuff as you go.
  • Rnd 14: [SCx2, DEC] x6. (18)
  • Rnd 15-16: SC around. (18)
  • Rnd 17: [SC, DEC] x6. (12)
  • Rnd 18-19: SC around. (12)
  • Rnd 20: DEC x6. (6)
  • Rnd 21-22: SC around. (6)
  • To close the end, cut the yarn and leave a long tail. Brush the yarn to make it hairy looking.

Leaf

  • Row 1: CHx22
  • Row 2: SCx2 in 2nd CH from hook, 2SC in next 10 stitches (to make curl looking), SLST in next 10 stitches.
  • Make 5 branches and difference sizes so you can CH x10 or CH 20+.

Assemble the radish body and leaves.

NOTE:

MATERIALS:

  • I use Caron one pound100% Acrylic yarn in
  • Use a 3.5mm Crochet Hook
  • Scissor
  • Tapestry Needle
  • Stitch Marker (Recommended)

ABBREVIATIONS:

  • CH = Chain(s)
  • DC = Double crochet
  • FPDC = Front Post Double Crochet
  • HDC = Half double crochet
  • DEC = Decrease
  • INC =Increase
  • Picot Crochet = Chain 3 and make a Slip stitch into the First Chain
  • Rep = Repeat
  • SC = Single crochet
  • St(s) = Stitch(es)
  • SLST = Slip Stitch
  • SK = Skip
  • TR = Treble Croche
Loading...
error: Content is protected !!